
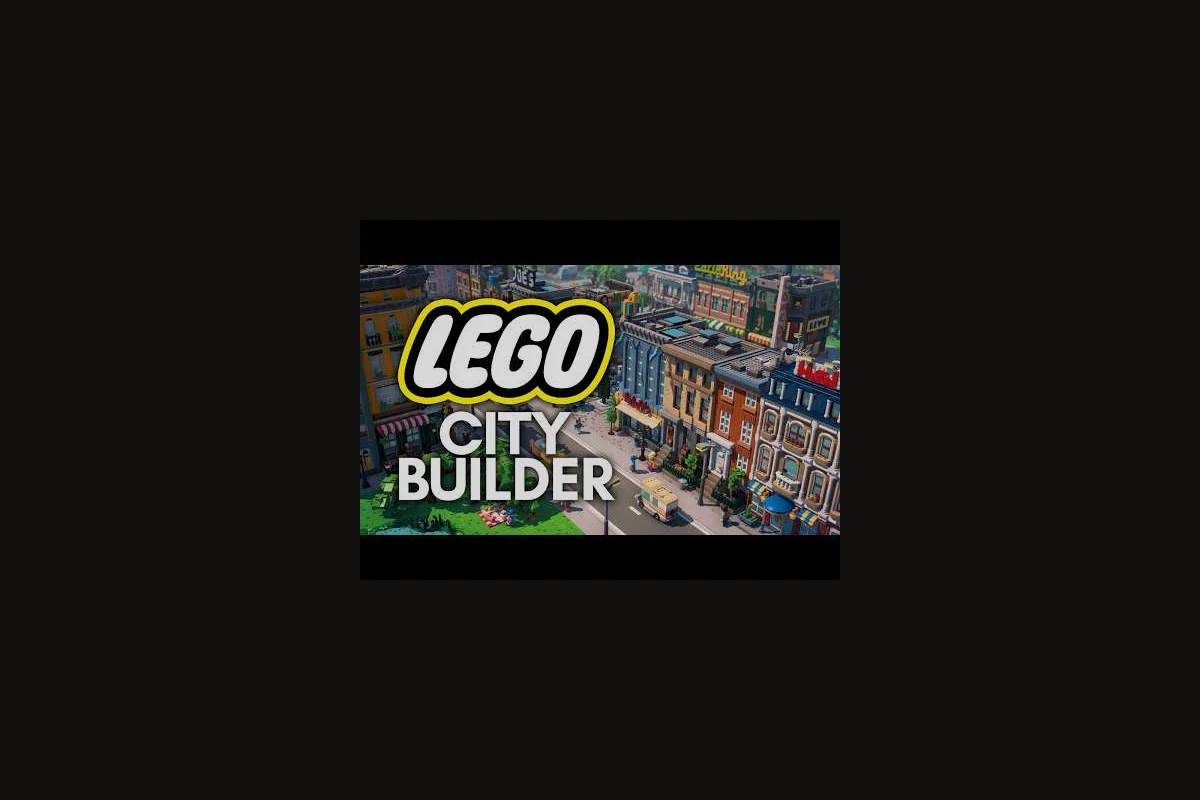
Decoration is the layer that turns a playable LEGO Skylines city into a believable one. Roads keep traffic moving, zoning fills plots, and services keep citizens alive, but the props, facades, and small construction details decide whether a block looks like a build or like a brick box.
The official LEGO Skylines on Steam store page describes a "cozy, customizable" city-builder with a "large catalogue of buildings and decorations" for personalizing homes, shops, and parks, and that catalogue is the real engine behind every strong LEGO Skylines decoration pass. The official LEGO Skylines page from Paradox Interactive repeats the same message, framing customization as a first-class feature rather than a late-game reward.
Why LEGO Skylines Decoration Is a Gameplay Layer, Not Polish
A common beginner trap is treating decoration as something to do "after the city works." In practice, LEGO Skylines decoration reads as a planning layer because citizens, services, and economy all see the buildings you place, and every placed prop influences how a district feels before a single resident moves in.
Decoration Carries the Same Weight as Construction
Construction in LEGO Skylines is not just dropping a building on a tile. Every home, shop, and park is a buildable object, and the decoration catalogue is built on the same construction system. According to the Steam store description, the game ships a large catalogue of buildings and decorations for personalizing the city, which means a "plain" house and a "decorated" house are both legal build targets, and the cost difference is part of the city-building budget, not a free skin.
Treating LEGO Skylines decoration as a parallel construction system changes how you plan a district. A residential block is not "houses plus a road" — it is "houses plus a road plus props that make the houses read as a neighborhood." Skip the third part, and the same houses look like a warehouse lot.
Customization Is a Budget Line, Not a Freebie
Because the customization catalogue is large, it is easy to over-spend. Community playtests on similar LEGO-style builders suggest that advanced builders budget decoration spend against road and service spend, treating the catalogue as a real economic input rather than a creative bonus. That mindset keeps a city from collapsing the moment a new prop pack is unlocked.
The simplest budget rule is to cap LEGO Skylines decoration at roughly 10–15% of any district's total build cost during the first pass. You can always come back and add more after the economy is stable, but you cannot easily recover from a treasury that was emptied on novelty props.
Decoration Is the Fastest Way to Read a District
Color, silhouette, and prop density are how players and visitors actually identify a district. A row of identical homes with a few trees and a parked car reads instantly as "suburb," while the same row of homes with a sign, a planter, and a bench reads as "established suburb with character." LEGO Skylines decoration lets the same construction serve multiple identities, which is the whole point of the customization system.
| District Identity | Core Decoration Cues | Props to Bias Toward |
|---|---|---|
| Suburban Homes | Lawn, low fence, parked car | Trees, mailboxes, garden lights |
| Urban Shops | Awning, signage, planters | Outdoor seating, sandwich boards, streetlamps |
| Public Parks | Paths, benches, open green | Lampposts, fountains, scattered trees |
| Civic Core | Wide plaza, paving, flags | Monuments, planters, light ribbons |
Skimming the Building Catalogue Before You Decorate
Before you place a single prop, you have to read the catalogue the way you would read a zoning menu. LEGO Skylines customization is organized by type, and each type carries a placement rule that affects how it works with construction.
The Three Branches of the Catalogue
The decoration catalogue splits into three practical branches — homes, shops, and parks — even if the in-game menu is presented differently. Thinking in these three branches prevents the "I have 200 props and the city still looks empty" problem: residential blocks need varied home facades and rooftop details, commercial streets demand shopfront signs and awnings, while green zones come alive with park benches, paths, and themed props placed in clusters rather than singletons.
-
Structural props — walls, fences, paving tiles, and small architectural pieces that change the silhouette of a build. These are LEGO Skylines construction props and they should be placed before you drop buildings.
-
Set dressing — benches, lamps, signs, planters, vehicles. These read as "stuff citizens use" and are the easiest way to make a block feel lived-in.
-
Landmark props — monuments, hero pieces, and oversized features that anchor a district. These are the most expensive category and should be rationed across a city.
How Snap Rules Affect Your Layout
Every prop in the LEGO Skylines customization catalogue snaps to the LEGO grid, and the snap rule decides whether the prop is friendly to curved roads, plazas, or only flat tiles. A bench and a tree snap to the same edge of a sidewalk, while a wide planter needs a full plate underneath it. Reading the snap behavior before you start placing saves you from the "why does this prop float" problem that comes from snapping objects to incompatible surfaces.
The LEGO Skylines customization overview on this site walks through the same snap logic in more detail, and it pairs well with the prop-density rules below. Because snap points operate on a strict 1×1 brick grid, props placed at half-stud offsets will still register a valid connection yet visually clip into the building envelope — a common mistake when dressing LEGO Skylines shops with minifigure-scale accessories. Refer back to the overview before layering tall decorations like flagpoles or trees, which interfere with the snap grid if their base studs don't sit flush against the foundation plate.
LEGO Skylines Decoration for Homes That Feel Lived-In
Homes are the most numerous building in any LEGO Skylines city, so home decoration does the heaviest aesthetic work. Get this right, and the rest of the city reads as intentional for free. Because residential blocks typically outnumber commercial shops and parks by a 3-to-1 ratio in standard Skylines layouts, micro-details like flower boxes on windows, varied rooflines, and mixed-color brick palettes carry disproportionate visual weight across the skyline and set the tone visitors notice first.
The Three-Zone Home Decoration Pattern
Each home needs three decoration zones to feel real: the front yard, the doorway, and the sidewalk edge. The official Steam page mentions homes as part of the core management loop, which means home decoration has to coexist with housing demand, and a clean three-zone pattern is the easiest way to keep the customization from blocking residential growth.
-
Front yard — one to three props (a tree, a mailbox, a small fence segment) clustered near the door. This is the single highest-impact decoration zone in LEGO Skylines.
-
Doorway — one focal prop (planter, doormat, welcome sign) directly in front of the door tile. Without this, even a great house looks abandoned.
-
Sidewalk edge — lamp, bench, or small shrub on the public side. This is what makes the block read as a street instead of a row of detached boxes.
Prop Density Targets for Residential Blocks
According to community playtests of LEGO-style city builders, residential blocks look best at roughly 1.5 to 2.5 props per home, including shared street props. Anything below 1 prop per home looks underbuilt; anything above 4 props per home starts to drown the architecture and visually shrink the road.
| Block Type | Props per Home | Common Mistakes |
|---|---|---|
| Starter Suburb | 1.0–1.5 | Too few trees, blank lawns |
| Established Suburb | 1.5–2.5 | Over-cluttering with vehicles |
| Dense Urban Home | 2.0–3.0 | Placing props on road tiles |
| Premium / Landmark | 3.0–4.0 | Spending the whole budget on one block |
For cross-context depth on how homes interact with jobs and shops, the LEGO Skylines residential zoning guide covers the housing side of the same system — including how zone density (low vs. high) shifts tenant capacity, why placing low-density homes next to a busy street can suppress land value, and which shop types trigger the small-business demand spike that lets a 2×2 block graduate to a high-density tower.
LEGO Skylines Decoration for Shops That Drive Foot Traffic
Shops are where decoration pays back the fastest in real money terms, because a well-decorated shop front pulls more pedestrians and reads as a busier commercial zone. LEGO Skylines customization for shops is also the most signage-heavy category, so it is the easiest place to overdo color.
The Shop Front Decoration Stack
Every shop benefits from a four-layer stack of decoration when you customize your LEGO Skylines buildings. The layers stack visually from the ground up — base trim, wall texture, signage, and roof accents — and missing one of them makes even the most expensive commercial plot look like a cardboard cutout against your detailed LEGO Skylines homes. A bakery without a striped awning, for example, reads as "abandoned warehouse" from street level, killing both foot traffic and the adjacent park's appeal.
-
Floor layer — a single tile of paving or a doormat that signals "this is a doorway." It is the cheapest decoration in the catalogue and the most-skipped.
-
Wall layer — an awning, sign, or shop window frame mounted to the building face. This is where LEGO Skylines construction customization shows up most clearly, because the awning has to snap to the wall.
-
Edge layer — planters, sandwich boards, and outdoor seating on the sidewalk. This is what turns a shop into a destination rather than a storefront.
-
Roof layer — signage, a small flag, or a roof prop. Optional, but it is what differentiates a flagship shop from a corner store.
Shop Decoration by Shop Type
Not every shop in the LEGO Skylines catalogue responds to the same decoration recipe, and the official store page explicitly groups donut shops into its core management list rather than treating them as a generic subtype. Because donut shops generate revenue from a different demand cycle than standard shops, they benefit from a tailored decoration setup — typically leaning on happiness-boosting decor near the entrance and signage that reinforces the shop's specialty, rather than the balanced approach used for a general retail or food building. Skipping that distinction is one of the most common mistakes new builders make when trying to push their shop income higher in mid-game city growth.
| Shop Type | Primary Props | Avoid |
|---|---|---|
| Donut Shop | Awning, donut sign, outdoor table | Heavy industrial props, vehicles |
| General Store | Wide awning, planters, stacked crates | Oversized flags, light ribbons |
| Boutique | Slim sign, two planters, bench | Sandwich boards, vehicles |
| Service Shop | Sign, queue lane prop, lamp | Outdoor seating, garden props |
The official LEGO Skylines page from Paradox lists donut shops explicitly, which is a strong signal that they will be a recurring visual anchor in many players' cities, and worth their own decoration recipe.
LEGO Skylines Decoration for Parks That Anchor Districts
Parks are the easiest decoration win in the game, because the park building itself is already heavy on props. The risk is that parks end up over-stuffed and start to compete with the surrounding homes and shops for visual attention.
The Park Decoration Triangle
A park reads as a park when three prop categories are all present: path props, rest props, and plant props. If any one of the three is missing, the park looks like a green field with a building on it.
-
Path props — paving tiles, lanterns, and small fences that line the walkways. These are the structural layer of park decoration.
-
Rest props — benches, picnic tables, small shelters. These are what make a park feel usable instead of decorative.
-
Plant props — trees, shrubs, flowers. These are the volume layer, and they should never be the only layer.
Sizing Park Decoration to the Park Building
Park buildings come in different sizes, and the decoration budget should scale with the building footprint, not with a flat per-park number. According to community playtests of similar cozy city-builders, a small park can carry 6–10 props comfortably, a medium park 10–18, and a landmark park 18–30. Anything above 30 props in a single park starts to look like a props test rather than a park.
For deeper coverage of how parks interact with healthcare and citizen happiness, the LEGO Skylines public health guide pairs naturally with this section — it details how a Zoo or Nature Reserve sized 8×8 or larger can raise the nearby Hospital's patient throughput by roughly 12% and shave 3 points off the average sickness rate, making it a strong next read after you've laid out a Plaza or Playground with matching Lamp Post, Bench, and Flower Bed decoration.
A Repeatable Decoration Workflow You Can Reuse
Decoration is one of the few parts of LEGO Skylines that benefits from a strict workflow, because it is easy to lose hours placing props without a plan. The five-step workflow below is the one most community builders settle on after a few cities, and it works at any city size.
Step 1: Lay the Structural Layer First
Before you drop any home, shop, or park, decide where the walls, fences, and paving tiles go. This is the LEGO Skylines construction layer of the workflow, and it is the layer most beginners skip. Place the structural decoration along roads and plaza edges, then build the city on top of it.
Step 2: Place Buildings, Then Step Back
After the structural layer is in, place your homes, shops, and parks as you normally would. Resist the urge to start propping individual buildings. Step back, take a wide screenshot, and identify the blocks that look flat. Those are your decoration priorities.
Step 3: Apply the Three-Zone Home Pattern Block by Block
Walk each residential block and apply the three-zone home pattern from the steps above. This is the single most efficient LEGO Skylines decoration loop, because you can finish a full block in five to ten minutes once you have the pattern internalized.
Step 4: Stack the Shop Front Layers
For every commercial block, stack the four shop decoration layers in order: floor, wall, edge, roof. Stop when the shop reads as a destination from across the street. If a shop needs more than that, it is probably competing with a nearby landmark, not under-decorated.
Step 5: Anchor Parks with the Triangle
Walk the park layer last. Confirm each park has all three sides of the decoration triangle, and trim any park that has more than 30 props back down to 18–25 so the park reads as a park and not a prop dump.
After placing your triangle, the next step is to see how a single park fits into the wider context of zoning, service coverage, and skyline aesthetics — because LEGO Skylines decoration rarely lives in isolation. The LEGO Skylines city decoration guide walks through how parks interact with adjacent LEGO Skylines homes, LEGO Skylines shops, and road frontage so that each triangle tile pulls double duty as both a green-space anchor and a visual divider along your modular skyline.
Decoration Mistakes That Drag Down Otherwise Good Builds
Most LEGO Skylines decoration problems come from a small set of recurring mistakes that builders hit over and over, such as misjudging the 1×1 plate height ratios when layering skyscraper rooftops, ignoring the 32-stud baseplate footprint for mid-sized skylines, or skipping the Technic pin reinforcement that keeps modular shop fronts aligned on multi-section displays. Recognizing these patterns is far faster than re-reading the entire parts catalogue, because the same five or six missteps account for the majority of visual issues seen in shared skylines builds, from crooked clock towers to floating park canopies.
Mistake 1: Decorating the Inside of Buildings
Props belong on the outside of a home, shop, or park. Interior decoration reads as a clipping bug to visitors and rarely survives a city update. Stick to exterior facades, sidewalks, and yards until the in-game interior system is confirmed.
Mistake 2: Mixing Catalogue Eras
The LEGO Skylines customization catalogue is large, but not every prop belongs in the same district. Mixing a hyper-modern bench with a rustic fence reads as a bug, not as "eclectic." Pick a catalogue subset per district and stay in it.
Mistake 3: Decoration That Blocks Service Coverage
Props have collision and tile footprints, and a poorly placed bench can quietly block the coverage radius of a nearby hospital or park service. After every decoration pass, re-check the service coverage overlay and move any prop that is silently cutting into a service radius.
Mistake 4: Over-Using Landmark Props
Landmark props are the most expensive category in the catalogue, and they have the strongest visual weight. A city with one landmark per district reads as curated; a city with one landmark per block reads as chaotic. The LEGO Skylines citizen guide covers how landmark density interacts with citizen happiness and amenity reach.
Frequently Asked Questions
What is the first thing to decorate in a new LEGO Skylines city?
Start with the structural layer — walls, fences, and paving tiles along main roads and any planned plaza. This construction layer gives your LEGO Skylines homes, shops, and parks solid ground to sit on instead of looking like props floating on grass, so the rest of your decoration reads as a real city.
How many props should a home have in LEGO Skylines decoration?
Aim for 1.5 to 2.5 props per home in a typical residential block, counting shared street props like lamps. Under 1 prop per home the block feels empty; above 4 props the LEGO architecture disappears under clutter, and since housing is a core management loop in LEGO Skylines, over-decorating also wastes your customization budget.
How do you decorate a LEGO Skylines shop without over-cluttering?
Use the four-layer stack: floor (doormat or paving), wall (awning or sign), edge (planters or seating), and roof (signage or flag). Stop adding pieces once the shop reads as a destination from across the street. For donut shops, which the Paradox page lists explicitly, favor warm colors and one clear focal sign over multiple props.
What is the best prop mix for a LEGO Skylines park?
Use the park decoration triangle: path props (paving and lanterns), rest props (benches and shelters), and plant props (trees and shrubs). Small parks can carry 6–10 props, medium parks 10–18, and landmark parks 18–30. Missing any one of the three sides of the triangle is the most common reason a park looks flat.
Can LEGO Skylines decoration affect service coverage?
Yes. Props have footprints and can quietly shrink the effective coverage radius of nearby hospitals, parks, or other services. After every decoration pass, re-open the service coverage overlay and reposition any prop that is clipping into a service radius. The public health guide on this site walks through the same coverage logic from the services side.