
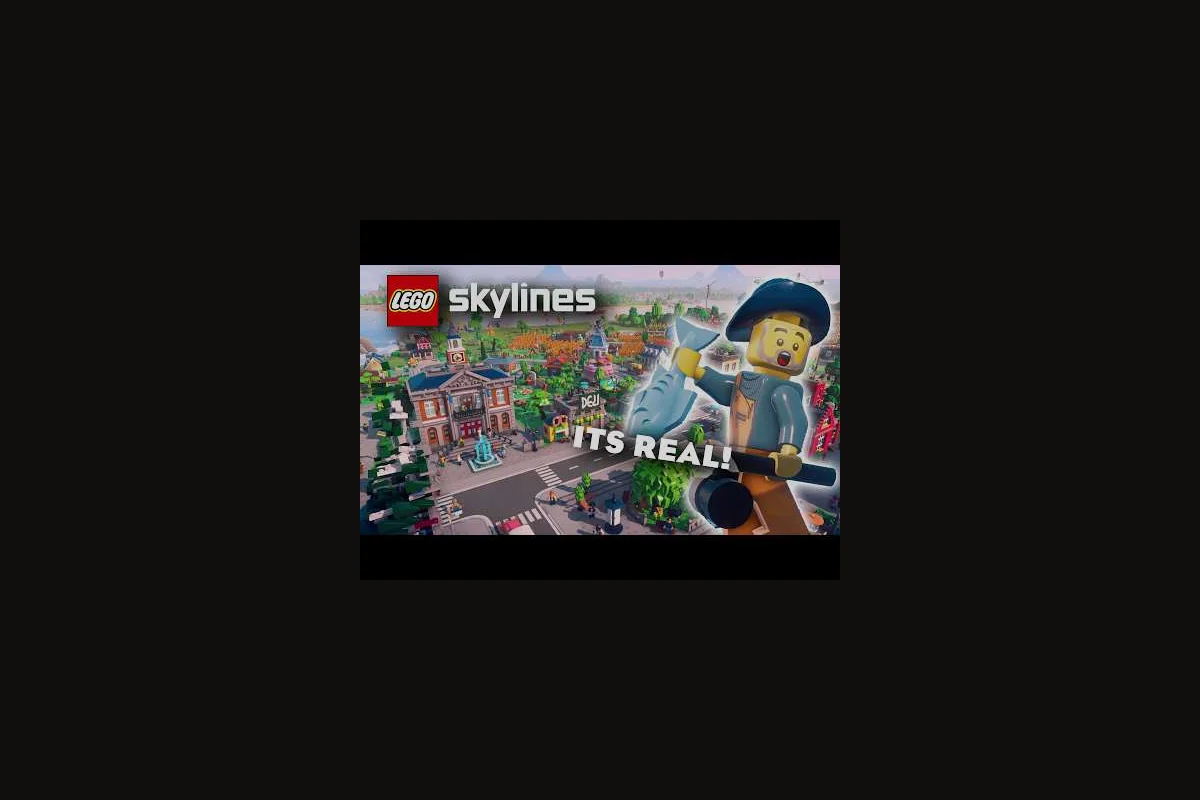
Building a LEGO Skylines balanced city is less about min-maxing every tile and more about pacing growth so the cozy atmosphere survives every expansion. This optimization guide focuses on the calm middle ground: enough density to feel alive, enough breathing room to keep the LEGO brick aesthetic charming, and enough foresight that electricity, water, and food keep up with new homes. If you want a LEGO Skylines sandbox that hums along without constant firefighting, the rest of this guide walks through the levers that matter most.
Why Balance Matters in a Cozy LEGO City
A cozy city in LEGO Skylines is not the same as a stalled one. Players who lean too hard into slow expansion end up staring at half-empty districts with nothing to do, while speed-runners who zone aggressively usually hit a cascade of service failures within the first in-game decade. The sweet spot is a steady growth cadence where every new building slot has a reason to exist and every utility network has slack to absorb the next wave of demand.
According to the official LEGO Skylines page on Steam, the game covers electricity, food, water, housing, jobs, healthcare, parks, shops, waste collection, and sewage as interconnected responsibilities. That list is also a checklist: if any one of those pillars lags behind, the whole city leans. A balanced city treats each pillar as a load-bearing wall rather than a decorative afterthought.
The cozy angle matters because LEGO Skylines is pitched as a "cozy, customizable" experience on the Paradox Interactive product page. Cozy in this context means low stress, gentle pacing, and a world that rewards patience over twitch decisions. Balance is the mechanism that delivers that feeling. When your city is balanced, you spend more time placing decorations and tweaking districts than chasing down brownouts or sewage backups.
| Pillar | What "Balanced" Looks Like | Early Warning Sign |
|---|---|---|
| Electricity | Coverage radius has 1–2 tile slack around the city | Flickering lights, unpowered workplaces |
| Water | Pumping capacity exceeds demand by ~15% | Pressure drops in hilly districts |
| Food | Production matches residential demand + buffer | Empty shop shelves, citizen complaints |
| Housing | New homes fill within 1 in-game week | Vacancy icons, abandoned plots |
| Services | Healthcare and waste keep pace with population | Garbage piling up, sick citizens |
If you can keep all five pillars in the green at the same time, you are running a balanced LEGO Skylines cozy city. Hitting the Population milestone while Residential demand is steady, keeping Education and Healthcare availability high, and preventing Power output from dipping below consumption are the four checkpoints that signal a healthy sandbox. The sections below break down how to actually get there, with concrete trade-offs between expansion speed and service coverage.
Pacing Your Early Expansion
Most failed sandboxes start with one mistake: zoning the entire map before the first power plant finishes spinning up. Pacing in LEGO Skylines rewards the same instinct you would use in a tile-based puzzle — build the smallest loop that works, then mirror it outward.
The Three-Tile Starter Loop
The cleanest way to begin any balanced city is the three-tile starter loop: a single power source, a small residential block, and one workplace cluster, all within walking distance of a road connection. The loop is intentionally tiny because it lets you test every pillar at minimum scale before multiplying.
-
Place a road segment first — every other system depends on it.
-
Drop a basic power source (solar, wind, or coal depending on your map's terrain) and confirm coverage.
-
Add 2–3 residential zones, then an equal-or-smaller workplace zone, then a small shop or park.
-
Watch the demand graph for 5–10 in-game minutes before adding anything else.
This loop is intentionally dull, and that is the point. According to community notes that mirror the official planning guidance, observing citizen needs before expanding helps utility coverage keep pace with growth, which is the core rhythm a cozy sandbox needs to survive past the first hour. If you skip the observation step, the next section on utilities will feel reactive instead of proactive.
Mirror, Don't Multiply
Once the first loop is stable, the second loop should mirror the first rather than quadruple it. Doubling the footprint while keeping the same service ratio is the safest expansion pattern because it preserves the balance ratios you already tuned.
| Expansion Phase | Residential Tiles | Workplace Tiles | Service Tiles | Park/Decoration Tiles |
|---|---|---|---|---|
| Loop 1 (0–500 pop) | 2 | 2 | 1 | 1 |
| Loop 2 (500–1.2k pop) | 4 | 3 | 2 | 2 |
| Loop 3 (1.2k–2.5k pop) | 6 | 5 | 3 | 3 |
| Loop 4+ (2.5k+ pop) | Scale per demand | Scale per demand | Scale per demand | Scale per demand |
Notice that services and parks scale with residential, not after it. That is the single biggest difference between a cozy city and a stressed one. If you want a deeper look at the first residential and workplace choices, our first services walkthrough covers the same ratio in more detail.
Utility Networks That Scale Without Stress
Utilities are the bloodstream of any LEGO Skylines balanced city. Because the game treats electricity, water, and sewage as distinct grids, a common mistake is to overbuild one while ignoring another. Balance here means treating all three as a single coupled system.
Electricity
Electricity is the first network most players build, and the first one that punishes sloppy planning. The official Steam description highlights electricity alongside food and water as the foundational trio, which is why every other service eventually fails when power flickers.
-
Start with a single source and one pylon line — resist the urge to "future-proof" with extra lines.
-
Watch the load vs capacity readout. If you stay under 70% utilization, you have enough slack for the next expansion loop.
-
Add a second power source before you cross 80% load, not after brownouts appear.
The key data point to internalize is the 70/80 rule. Staying under 70% means you can absorb a sudden workplace spike without losing power; crossing 80% means every new building risks tipping the grid. If you want the broader layout patterns that make power grids cheap to maintain, the city growth guide has a section on grid-friendly road shapes.
Water and Sewage
Water pressure in LEGO Skylines is unforgiving on hilly maps, where a pump placed too low will lose almost all lift before water reaches elevated Residential zones. Veterans avoid this trap by laying a 4-tile closed water-pipe loop near the highest intended building site, running it for an in-game week, and confirming the Sewage indicator stays green before extending the network city-wide.
-
Place a water source on the highest possible tile, then run pipes downhill by gravity.
-
Add sewage treatment on the opposite edge of the city from your water intake to avoid contamination loops.
-
Keep pump capacity at roughly 1.15× peak demand to leave headroom for the next population wave.
Sewage is the silent killer. Most players remember to build sewage treatment after their citizens start complaining, but by then the happiness hit is already baked into the city's mood. Treat sewage as a twin of water, not an afterthought, and your cozy sandbox will stay cozy.
| Utility | Recommended Capacity Buffer | Common Mistake |
|---|---|---|
| Electricity | 20–30% headroom | Building pylons before demand |
| Water | 10–20% headroom | Single pump for whole city |
| Sewage | Match water capacity | Placing treatment near water intake |
| Food | Match residential demand | Forgetting commercial zones |
Food and Commercial Balance
Food is unique because it bridges residential, workplace, and commercial demand at the same time. A farm feeds citizens, but a bakery or shop turns that raw output into the commercial demand that drives workplace growth. The Paradox Interactive page explicitly mentions donut shops alongside homes and jobs, which is a small but telling detail: even the official framing treats food as a loop, not a one-way pipeline.
A balanced food chain looks like this: farm or production tile → processing building → shop or commercial zone → happy citizens. Skip a step and you get either starving residents or empty storefronts. The fix is to keep at least one of each tier within a short road commute of the residential block it serves.
Services, Parks, and the Cozy Atmosphere
Services are where most sandboxes either bloom or buckle. Healthcare, waste collection, and parks are not optional flavor — they are the systems that keep citizens healthy, the city clean, and the mood light. The cozy LEGO Skylines sandbox leans heavily on parks and decoration, but those only feel rewarding when the underlying services are quiet.
Healthcare That Disappears Into the Background
The goal with healthcare is to make it invisible. When hospitals run well — sufficient clinic coverage, realistic ambulance routing, and deathcare demand met by crematoriums and cemeteries within range — you never think about them; when they fail, the sickness meter climbs, residential buildings start abandoning, and the tax base collapses, so treat the Healthcare overlay as a quiet coverage map you balance against population density and industrial pollution rather than something you only react to once sirens appear.
-
One hospital per 1,000–1,500 residents is a safe starting ratio.
-
Place hospitals near — but not on top of — residential clusters to maximize walking range.
-
Upgrade capacity before population crosses the next threshold, not after the sickness meter spikes.
Waste Collection Routing
Waste collection is a routing problem disguised as a service problem. Garbage trucks can only travel along built roads, so the grid beneath your residential blocks dictates whether waste piles up or vanishes without complaint. In a LEGO Skylines balanced city, a perimeter ring road around each residential zoning block lets trucks loop continuously without backing into T-junctions, while dead-end cul-de-sacs frequently trigger the "no access" icon on half the houses. Dense cuckoo-clock layouts look charming but cripple service vehicle routing, whereas a chessboard avenue pattern with 2x4 block interiors keeps every building within one tile of a drivable road — the trade-off being reduced decorative density on the streetscape.
-
Use grid or loop roads rather than cul-de-sacs in dense areas.
-
Place waste facilities on the edge of districts so truck routes do not cross residential streets twice.
-
Watch the garbage overlay; if any block stays orange for more than an in-game week, the route is broken.
Parks as Load-Bearing Decoration
Parks are the most underrated tool in a cozy sandbox. They lift land value, calm citizen mood, and give you a visual break from dense zoning — but they also count as a service in the demand graph. A balanced city parks at least one green tile per 4–6 residential tiles, and lets decoration grow organically around those anchors rather than scattering benches randomly. If you are still tuning your first hour, the troubleshooting checklist pairs well with the park ratio above.
| Service | Target Ratio | Placement Tip |
|---|---|---|
| Healthcare | 1 per 1,000–1,500 pop | Adjacent to residential, not inside it |
| Waste | 1 facility per 800–1,200 pop | Edge of district for clean routing |
| Parks | 1 tile per 4–6 residential tiles | Cluster around landmarks for land value |
| Police/Fire | Match service coverage to risk | Higher density = more coverage needed |
Optimization Habits for Long-Term Cozy Play
A balanced city is not a one-time setup. It is a habit loop you run every 5–10 in-game minutes, checking the same five readouts and nudging the same five levers. The optimization guide framing here is intentional: optimization in a cozy sandbox is about reducing the number of things you have to fix, not maximizing a single number.
The Five-Minute City Check
Every few in-game minutes, run this mental loop: glance at your Residential demand bar — if it tips past ~70% green, pause zoning in industrial tiles and wait one day-cycle for Cims to reabsorb available jobs; conversely, when Commercial demand crests while Residential sits at 30%, drop two or three new low-density residential blocks along a serviced Road segment, since without nearby Cims shops stay vacant and waste upkeep. Keep an eye on the Pollution overlay, because once ground contamination creeps past 15% near your Water supply, land value in that ring collapses and your tax income plummets.
-
Power load — am I under 70%?
-
Water pressure — any brown districts on the map?
-
Happiness meter — is it stable or drifting down?
-
Demand graph — what is the next zone the city wants?
-
Service coverage overlay — are any service icons missing from the edge of the city?
If all five answers are "yes/stable/green," you can keep building or just decorate. If any one is amber, fix that one thing before adding new zones. This is the rhythm that turns sandbox mode into a calm creative flow rather than a triage queue.
Sandbox-Specific Freedom
LEGO Skylines leans into the sandbox label, which means the game rewards creative detours as long as the underlying balance holds, so a thriving cozy city isn't about strict adherence to zoning rules but about keeping the income–expense ratio and residential happiness meter stable while you experiment. A few habits make those detours safe:
-
Build a "balance test tile" early — a small mixed-use block where you can stress-test new building types before placing them across the city.
-
Keep at least one decoration budget per loop so the LEGO personality keeps showing up.
-
Save before large zoning pushes; sandbox mode is forgiving, but rollback is still faster than repair.
According to the official announcement trailer, the game is built around that exact "cozy city-builder" pitch, so leaning into calm pacing is closer to the intended experience than min-maxing. The trick is to use the sandbox freedom for expression, while the optimization guide above keeps the engine healthy.
When to Stop Optimizing
The hardest part of a cozy sandbox is knowing when to stop optimizing. A simple rule: if the city's services are stable and the demand graph is healthy, switch to decoration mode. Place a park, drop a custom brick pattern, route a road through a new district, and let the city breathe. The optimization framework is a guardrail, not a goal. Once the guardrail holds, the real LEGO Skylines sandbox fun begins.
Frequently Asked Questions
What does a balanced city in LEGO Skylines actually mean?
A balanced city in LEGO Skylines means every major system — electricity, water, food, housing, services, and parks — keeps pace with population growth without any single pillar collapsing. The official Steam page lists these as interconnected responsibilities, and the cozy sandbox pitch works best when each one stays in the green at the same time.
How do I start a cozy sandbox without burning out my utilities?
Begin with the smallest possible three-tile loop: one power source, a small residential block, and one workplace cluster. Watch citizen behavior for several in-game minutes before expanding. This pacing is the core of any LEGO Skylines optimization guide because it lets you catch demand spikes before they cascade into service failures.
What is the best way to zone for steady growth instead of boom-and-bust?
Mirror, do not multiply. After the first loop stabilizes, duplicate the same ratio of residential, workplace, service, and park tiles rather than quadrupling any single category. The table in the pacing section above shows safe ratios from 500 up to 2,500 residents, and the broader patterns in the city layout guide reinforce the same principle.
How much buffer should I keep in electricity and water capacity?
Stay under 70% electrical load and keep water pumping capacity at roughly 1.15× peak demand. Add a second power source before you cross 80% utilization, and place sewage treatment away from water intake to avoid contamination loops. These two buffer rules are the most reliable shortcuts in any LEGO Skylines optimization guide.
Can decoration and parks actually help with city balance?
Yes, parks and decoration are load-bearing, not optional. A well-placed park raises nearby land value, stabilizes citizen mood, and counts as a service in the demand graph. Aim for at least one park tile per four to six residential tiles, and cluster decoration around those anchors so the cozy LEGO personality stays visible even in dense districts.