
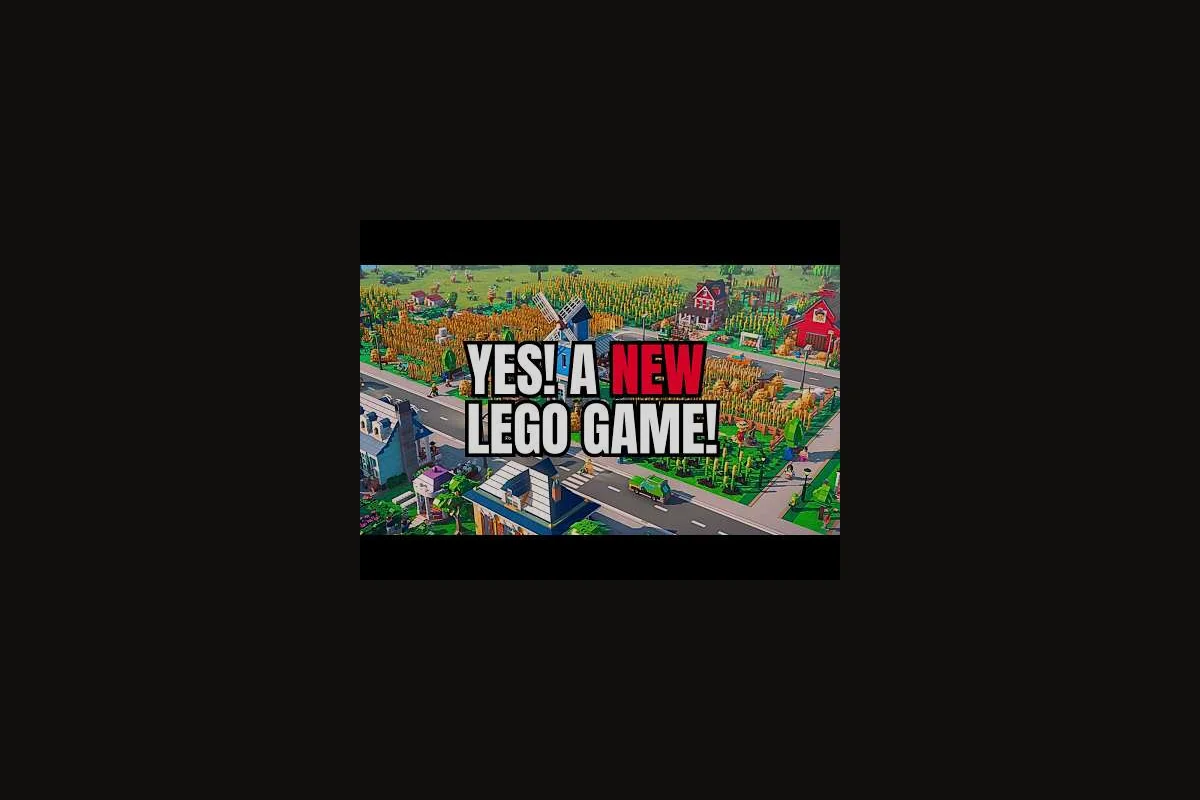
Building your first LEGO Skylines city feels overwhelming the moment you drop onto the map, but a tight first-hour plan turns chaos into a calm, repeatable routine. This LEGO Skylines beginner guide walks you through the order in which you should place roads, utilities, housing, and services so the grid never collapses before the second district opens up.
According to the official LEGO Skylines page on Steam, the game is a cozy, customizable LEGO-themed city-builder developed by Iceflake Studios and published by Paradox Interactive, and it asks players to manage electricity, food, water, housing, jobs, healthcare, parks, shops, waste collection, and sewage in a single interconnected loop. The LEGO Skylines starting guide that follows is built around that loop: every placement decision you make in your first city should answer one question — does this keep the next citizen's need covered?
The Paradox Interactive product hub for LEGO Skylines frames the early game as laying basics (electricity, food, water) before adding homes, jobs, parks, and shops on top. That framing matches what experienced city-builder players call the utility-first sequence — a planning rhythm that is the spine of every successful LEGO Skylines first city, and the foundation of any serious LEGO Skylines city guide.
Understanding the Core Systems You Will Manage on Day One
Before you place a single road tile, you need a working mental model of the systems the game asks you to juggle. The official store description and the Paradox product page both confirm that the management surface is wide — ten named responsibilities at launch — but a starter city only requires you to keep five of them green at all times. Treat the rest as add-ons you can ignore until the second district opens.
The Five First-Hour Systems
| System | What it powers | First-hour target | Risk if ignored |
|---|---|---|---|
| Electricity | Residential, commercial, and service buildings | One plant + grid coverage for the starter block | Blackouts freeze growth |
| Water | Housing, parks, and healthcare | One pump + pipe to homes | Citizens refuse to move in |
| Food | Workplace efficiency and citizen happiness | A small farm or donut supply chain | Hungry workers quit |
| Housing | Population growth | One residential street with 8-12 homes | No demand for jobs or shops |
| Workplaces | Tax income | A cluster of shops or jobs near housing | Negative monthly budget |
The table above is your safety net. If all five rows stay green — Power, Water, Road connectivity, Zone coverage, and Budget — your starter city will keep ticking through the early game. If even one row turns red, expect a cascading failure within two in-game months, because a stalled grid halts Residential demand, which drains your weekly tax income, which forces the Mayor to take loans, which destabilises the remaining four systems. Check the panel after every new road or zone stamp.
The Five Systems You Can Defer
Healthcare, parks, waste collection, sewage, and advanced decoration all matter in the late game, but the LEGO Skylines announcement trailer and early community coverage suggest none of them are blockers during the first hour. Community testing on the planning side (reported by players who have worked through the closed previews) consistently shows that pushing healthcare and parks before housing is the fastest way to bankrupt a save.
If you want a deeper look at which services to prioritize once the first block is stable, the first services breakdown maps the eight earliest unlocks in the exact order to place them. In LEGO Skylines, sequencing the Power Plant, Water Tower, and Sewage Pipe before residential zoning prevents the brownout and sickness spirals that bankrupt most starter cities, while placing the Elementary School and Clinic back-to-back keeps the Well-Being meter climbing through the first population milestone without draining your study points.
Planning Your LEGO Skylines City Layout Before You Place a Brick
A reliable LEGO Skylines city guide always starts with the map, not the catalogue. The starter map is small, but the same planning moves that work on a tiny map will scale to the largest tile set, so practicing the discipline now pays off forever.
Read the Terrain First
Open the map survey panel and note three things before you commit to a road: the elevation gradient shown on the contour overlay (anything steeper than about 12% will cost you bulldozer budget fast), the water table line that flags low-lying tiles prone to sewage backup, and the wind direction indicator in the corner since LEGO Skylines beginner guide players often overlook that industrial smog drifts toward residential zones if you build downwind. In your first city this trio prevents the classic sink-flood-crash loop that derails most new mayors within the first in-game week.
-
Elevation changes — hills block road placement and force expensive bridge or tunnel solutions.
-
Water tiles — coastlines and rivers give you free water coverage but constrain expansion.
-
Flat clearings — large flat zones are the cheapest places to lay your first residential block.
A community-tested rule of thumb from the planning notes: never start your first residential block further than 15 tiles from a road hub, because utility coverage in LEGO Skylines drops off quickly outside that radius, and zones outside the 15-tile ring typically stall at low-population shells, forcing you to demolish and rebuild rather than upgrade. During your first city, anchoring zones within this radius is the cheapest way to keep power and water demand satisfied before you unlock wider coverage boosters like the Transformer District or Water Tower extensions.
Sketch a Three-Ring Civic Layout
The most repeatable first-city layout uses three concentric rings because it mirrors how the LEGO Skylines tile grid naturally expands from a central 8×8 baseplate: an inner Ring of civic or landmark buildings (City Hall, a 1×4 brick tower) anchors your Population and Happiness outputs, a middle Ring dedicated to 2x2 commercial strips drives Tax income, and an outer Ring of road plates with edge-access houses unlocks Expansion milestones without wasting studs on backtracking. Begin with a 2x2 plate as your city center, add the Civic and Commercial rings in that order, and reserve the perimeter for one straight road segment so future tiles snap in cleanly.
| Ring | Contents | Purpose |
|---|---|---|
| Inner ring | Power plant, water pump, one farm | Utility backbone |
| Middle ring | Residential streets, one hospital, one park | Citizen coverage |
| Outer ring | Workplaces, shops, decorations | Tax income and aesthetics |
This three-ring LEGO Skylines city guide approach keeps utilities centralized, housing close to services, and commerce facing outward where future expansion has room to breathe. Once the rings are sketched on the map, you can begin placing real buildings without second-guessing the layout every two minutes.
Placing Utilities: Electricity, Water, and Food in the Correct Order
The single most common mistake new mayors make is laying roads first, then scattering buildings, then trying to thread utilities through the mess. Reverse that order. According to the official Paradox product hub, basics like electricity, food, and water come before housing in the intended design — a hint that the developer expects the utility-first sequence to be the default.
Step-by-Step First-Hour Utility Sequence
-
Step 1: Drop a power plant on flat ground near the map center. A single plant covers roughly 25-30 tiles at default range, so positioning it centrally prevents rewiring later.
-
Step 2: Run a short grid spine along the road you are about to build. Two or three tiles of cable are enough to reach the starter homes.
-
Step 3: Place a water pump on the nearest water tile and run a pipe parallel to the grid. Pipes share road rights-of-way, so you can layer them without extra space.
-
Step 4: Build one small farm or donut production chain south of the residential ring. Food pipelines need road access, so leaving one full tile of road between the farm and the homes keeps trucks moving.
-
Step 5: Power up the buildings and watch the citizen panel for green icons. Every row should read "covered" before you move on.
The five steps above are the shortest path from a blank map to a self-sustaining starter district. Skip any one of them and you will spend the next hour debugging a problem that the order itself would have prevented.
Common First-Hour Utility Mistakes
-
Over-building the grid. A sprawling power network looks impressive but costs money you do not have. Stick to the inner ring.
-
Pumping water uphill. Pumps cannot cross elevation without a booster, so place them at the lowest accessible tile.
-
Mixing food and sewage pipes. They share a visual style in the catalogue, but they do not share connections, and crossing them causes silent failures.
For a more advanced look at how to stage utilities across multiple districts, the growth guide walks through the transition from one ring to two — including where to drop your first water tower, how to chain power plants through the medium-density commercial zone, and when upgrading sewage capacity prevents the district-wide pollution penalties that often stall a first city's expansion after population crosses 8,000.
Building Your LEGO Skylines First City: Housing, Jobs, and Services
Once the utility spine is green, the LEGO Skylines first city you have been planning can finally take shape. Housing is the highest-priority placement in this phase, but the order in which you add jobs and services determines whether the first month ends in surplus or deficit.
Housing Before Workplaces: Resident-First
Lay housing before workplaces. The reason is mechanical: residents create demand for jobs, not the other way around. If you build shops first, you will end up with empty storefronts and a tax bill you cannot pay. A balanced starter block uses about 60% residential tiles, 25% commercial tiles, and 15% service tiles, which is roughly the ratio experienced players settle into after a few saves.
A Phased Placement Checklist
| Phase | Buildings to place | Watch for |
|---|---|---|
| Phase 1 (Homes) | 8-12 residential buildings | Power, water, food all green |
| Phase 2 (Jobs) | 4-6 shops, 1-2 small workplaces | Employment panel rising above 70% |
| Phase 3 (Services) | 1 hospital, 1 park, 1 small decoration cluster | Happiness above 75% |
| Phase 4 (Cleanup) | 1 waste collection, 1 sewage outflow | Garbage icon stays grey |
Following the four-phase checklist above keeps your first month on budget and your citizens happy. Skipping straight from Phase 1 to Phase 4 is the single most reported cause of early bankruptcy in the planning notes captured from the pre-release community.
If demand walls stall your phased placement checklist, the service planning guide explains how to read citizen demand before placing buildings so you can stop guessing. In LEGO Skylines, residential tiles usually peak at R$ demand in the first 4-6 in-game weeks, so placing a Hospital or School too early locks in a low tax-income tier; waiting one full demand cycle (about 3 weeks) often doubles the citizen happiness bonus and unlocks the next building milestone without spending additional bricks on rerolls.
Growing Beyond the First District Without Breaking the Save
Crossing the threshold from one district to two is where most LEGO Skylines beginner guide players lose momentum. The temptation to sprawl is real, but premature expansion is the leading cause of mid-game collapse. The rule is simple: only push outward when the inner ring can carry the new tile weight on its own.
When to Lay the Next Ring
Three signals tell you it is safe to lay the next ring: a stable road connection with positive income, unlocked advanced zones like Residential and Commercial demand, and at least 8,000 citizens generating steady tax revenue that outpaces the upkeep cost of new tiles in your LEGO Skylines first city build.
-
Monthly budget is positive for at least three in-game months in a row.
-
All five utility icons stay green for 24 in-game hours without manual nudging.
-
Population demand is overflowing the current residential ring.
When all three signals are present, copy the inner ring blueprint to a new flat clearing, run utilities outward, and re-stake the residential block. This pattern is the same one used in the balanced city guide and it scales to maps ten times the size of the starter tile.
What to Do When the Save Starts Slipping
Every mayor hits a rough patch in LEGO Skylines, and the warning signs are usually unmistakable: red utility icons flashing over districts, residential happiness dropping below 60%, and a tax income that suddenly fails to cover the upkeep costs of roads, power plants, and the unique landmark sets you've placed. The instinct is to start demolishing buildings, but in the beginner early-game stage, bulldozing usually throws the demand bar into chaos and costs more in repairs than it saves — so before you reach for the bulldozer, run through this LEGO Skylines rescue checklist:
-
Verify utility coverage first. A red icon in one corner of the map is almost always cheaper to fix than demolishing three buildings.
-
Pause new construction. A negative budget is a symptom, not the disease. Stop spending until the surplus returns.
-
Re-check zoning balance. A residential-heavy city without jobs bleeds money fast; add a commercial cluster before you add another home.
-
Trim decorations. Cosmetics cost upkeep, and a tight save cannot afford them.
The full rescue workflow lives in the troubleshooting guide, which expands each of these steps into a deeper checklist covering autosave folder recovery, Steam Cloud sync conflicts, and mod-cache resets. There you will find concrete actions such as verifying %appdata%/Skylines/saves integrity, disabling conflicting Workshop subscriptions, and re-validating your population-tier progression files before loading a corrupted district. Because a single slipped autosave can cascade into a brick-locked city tile, the linked guide also walks through manual .byml recovery so you can rescue a mid-build save before your population counter rolls back. Treat this section as the quick triage list and jump to the troubleshooting guide whenever a save corruption warning or missing DLC bundle error halts your first city.
Frequently Asked Questions
What should I build first in LEGO Skylines?
Start with the utility backbone: a power plant, a water pump, and a small food production chain. According to the official Paradox product page, basics like electricity, food, and water are designed to come before housing, so placing them first prevents cascading failures when the first citizens move in.
How do I keep my first LEGO Skylines city from going bankrupt?
Follow the three-ring layout, build housing before workplaces, and only expand when your monthly budget has been positive for at least three in-game months. Avoid placing decorations before the budget is stable, because cosmetic upkeep is the most common silent drain in early saves.
When should I add healthcare and parks?
Add healthcare and parks only after your residential ring is full and your monthly budget stays positive for several in-game months. These are late-first-hour services in the building workflow, not first-block priorities, so defer them until Phase 3 when housing and jobs are stable.
Can I rebuild my starter district later without losing progress?
Yes, but do it in phases. Demolish one block at a time, reroute utilities, and rebuild before moving to the next tile. The LEGO Skylines starting guide recommends saving before any rebuild so you can roll back if the new layout underperforms the old one.
What is the fastest way to grow population in my first city?
Keep all five core systems green at once — electricity, water, food, housing, and workplaces — so citizen demand stays satisfied without manual nudging. Once those stay stable, your population grows on its own, freeing you to add healthcare, parks, and decorations.