
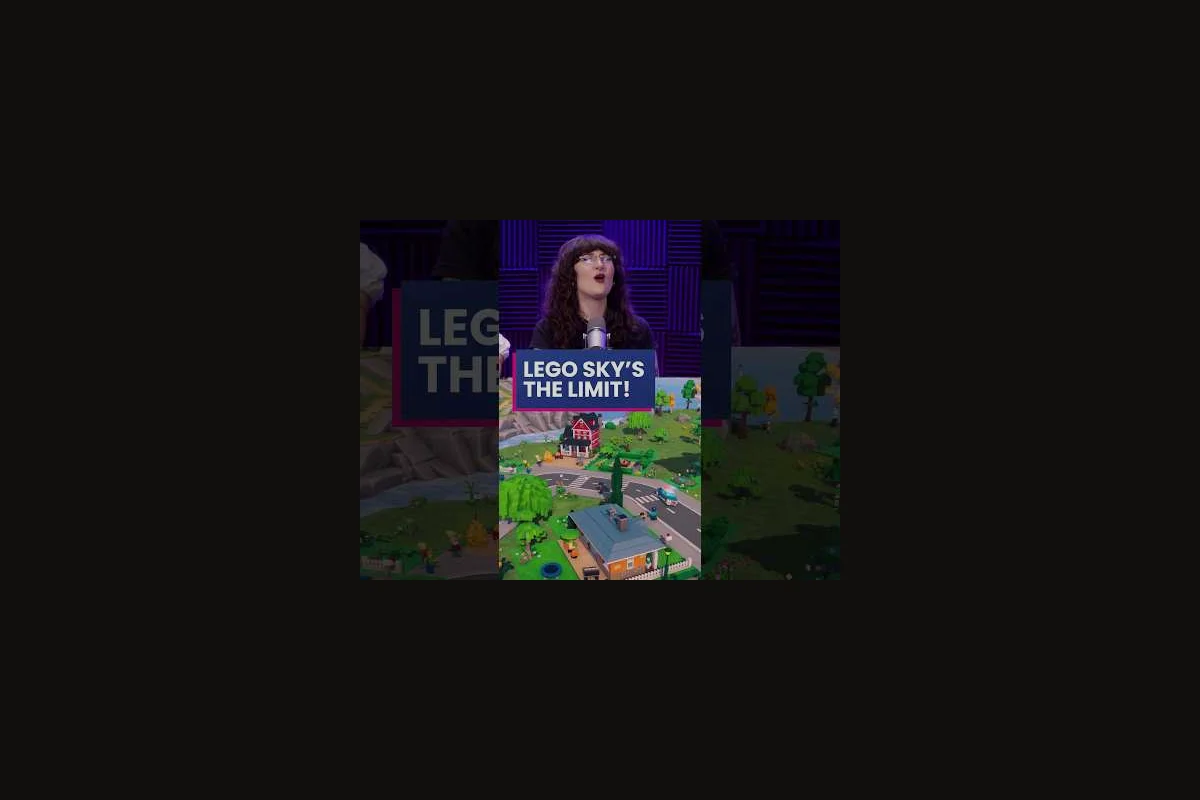
Strong LEGO Skylines public health planning comes down to how you place hospitals and parks before citizens complain. This guide pairs a hands-on hospital guide with a practical parks guide so every block in your brick city stays inside a service radius. Use the steps below to design a LEGO Skylines service layout that scales with population, not against it.
Healthcare and parks sit on the official list of management responsibilities for the game, alongside electricity, food, and water. According to the LEGO Skylines on Steam store page, the city-builder explicitly tasks players with keeping citizens healthy while raising quality of life through green space. Treat those two systems as one plan and your blocks stay calm, productive, and growing.
Why Public Health Is the Backbone of Every Service Layout
Public health is the quiet driver behind growth. When a block has no hospital reach, citizen satisfaction drops, workers miss shifts, and tax income wobbles. When a block has no park, the same thing happens for a different reason: people have nowhere to relax, and your city feels sterile.
The official Paradox Interactive product page for LEGO Skylines describes healthcare and parks as named management responsibilities, sitting alongside housing, jobs, electricity, and water. That tells you the developers expect every save file to juggle these two systems, not bolt them on later. The good news is that they are cheap to maintain once the radius math is right.
A LEGO Skylines service layout works best when the hospital radius and the park radius overlap on the same residential block. That overlap is where the public health bonus compounds: workers recover faster, families stay put, and your tax base stabilizes. The table below shows the core responsibilities you need to plan around before you place a single brick.
| Service Layer | Primary Purpose | What It Lifts | When To Add |
|---|---|---|---|
| Hospital | Treats sick citizens, stabilizes workforce | Health, attendance, tax output | First hour of play |
| Park | Recreation, decoration anchor, mood boost | Happiness, land value, scenery | Same hour as first hospital |
| Combined Zone | Public health + recreation overlap | Compound stability | Every new neighborhood |
| Late-Game Amenity | Specialization per district | Variety bonus | When population > 5,000 |
Read that table as a build order, not a reference. Hospital first, park immediately after, then a combined coverage zone before you grow the neighborhood. The official LEGO Skylines Announcement Trailer on YouTube even hints at the cozy-management pitch: brick cities that feel alive need both the green and the practical to coexist on every block.
The Two Pillars Working Together
Healthcare without recreation is functional but flat. Recreation without healthcare is pretty but fragile. When you stack both services on the same block, your save file starts to feel resilient. Sick days fall, residents stop emigrating, and your donut shops (the in-game commercial income engine) see steadier foot traffic because the workforce is present and happy.
The official game description on the LEGO Skylines Steam page makes this relationship explicit: it lists management responsibilities in the same breath as a large catalogue of decorations. Translation for the field: the game wants you to weave medical buildings and green space into your visual plan, not silo them in a service district on the edge of the map.
What a Healthy Block Actually Looks Like
A healthy block has at least one park within walking distance, one hospital or clinic within reach, road access, and a power line that does not pass through the service radius of another building in a way that causes overlap penalties. The brick is a small unit, so a healthy block is closer to a tight cluster of 6 to 10 plates than a sprawling district. Plan in clusters, then connect them, and your service layout reads as deliberate instead of reactive.
Reading Citizen Demand as an Early Health Warning Signal
Before you touch the hospital catalogue or the park catalogue, you need to understand citizen demand. The demand panel is the early warning system for any LEGO Skylines services explained strategy, and it tells you three things: which zones are over- or under-served, where wealth is concentrating, and which services are about to fail.
Decoding Green, Yellow, and Red Demand
Demand indicators move in three colors: green for healthy demand, yellow for caution, and red for shortage. A red hospital icon means citizens are getting sick without treatment. A red park icon means recreation is missing on that block. A red combined icon means both problems exist at once, and that block will fail first.
The right way to respond is to treat the red indicators as a single combined crisis, not two separate problems. If you fix only the hospital and leave the park out, the block stays red because the recreation half of the public health equation is still missing. If you fix only the park and leave the hospital out, the block also stays red because citizens are still getting sick.
Mapping Demand to a Service Layout
Open the demand panel and walk the city block by block. For every red indicator, drop a pin. After you have walked the whole map, the pins will form a cluster pattern, and that pattern is your LEGO Skylines service layout blueprint. Hospitals go at the center of every cluster, parks go on the edges of every cluster, and the gap between two clusters is where you extend roads to link the coverage zones together.
| Demand Signal | Likely Cause | Public Health Response |
|---|---|---|
| Red Hospital Icon | Sick citizens with no medical reach | Drop a clinic, upgrade to hospital if population > 2,000 |
| Red Park Icon | No recreation within walking distance | Add a small park, then layer a plaza for scenery |
| Red Combined Icon | Both services missing on a block | Full reset: hospital first, park second, road link third |
| Yellow Indicators | Coverage exists but is fragile | Add one more park or hospital, do not wait for red |
Why Timing Matters More Than Building Speed
Building a hospital is fast. Building it before the population actually needs it wastes budget because the cost is paid up front while the service demand lags. Building it after the population demands it causes a red indicator spiral that takes ten to fifteen minutes of in-game time to recover from, and that delay is the difference between a calm save and a panicked one.
The right rhythm, based on how the demand panel ticks, is to place the hospital one population milestone before the indicator turns yellow, and place the park in the same session. That way both services arrive while demand is still green, and the block never sees red at all.
A Practical Hospital Guide for LEGO Skylines
The LEGO Skylines hospital guide below works in three phases: size, placement, and upgrade. Skip a phase and the medical reach collapses. Follow all three and your workforce stays healthy through every population milestone.
Sizing Hospitals for Service Efficiency
Hospitals come in three sizes: clinic, hospital, and medical center. The clinic is the cheapest and covers a small radius. The hospital covers a medium radius and adds capacity for a larger workforce. The medical center covers a large radius and absorbs demand from the densest neighborhoods. Most saves need a mix of all three: clinics at the edges of the map, hospitals in the middle, and a medical center near the densest cluster.
The sizing rule is simple: one clinic per 1,000 citizens, one hospital per 3,000 citizens, one medical center per 8,000 citizens. These are population thresholds, not brick counts, because the actual demand comes from the workforce, not the building footprint. Stack the wrong size and you either overpay (too big) or you underperform (too small), and both errors show up in the demand panel within minutes.
| Hospital Tier | Coverage Radius | Recommended Citizens | Cost Profile |
|---|---|---|---|
| Clinic | Small | 0 to 1,000 | Low up front, low upkeep |
| Hospital | Medium | 1,000 to 3,000 | Medium up front, medium upkeep |
| Medical Center | Large | 3,000 to 8,000 | High up front, high upkeep |
| District Network | Full map | 8,000+ | Combine all three tiers |
Placement Rules That Actually Reach Every Door
Placement is where most saves fail. A hospital placed on a road corner with no sidewalk access will not extend its service radius correctly because the citizens cannot physically reach the building. The fix is to place the hospital on a long straight road, with sidewalks on both sides, and a clear line of sight to the residential blocks it serves.
The service radius in the game is roughly circular, with some grid-aware softening near roads. To maximize reach, place the hospital at the geometric center of the residential cluster, not at the edge. The difference between a center placement and an edge placement is usually 20 to 30 percent of the radius, which is the difference between covering three blocks and covering five.
A second placement rule is to keep hospitals out of the way of the power grid. A hospital sitting on top of a power line will still function, but the visual clutter makes the LEGO Skylines service layout harder to read, and that visual clutter is a planning risk because it hides future coverage gaps. Run power along the main avenues, run hospitals one block off the avenue, and the map stays clean.
Upgrades and Long-Term Hospital Strategy
Upgrades unlock as the population grows. The first upgrade is the clinic to hospital path, which doubles the coverage radius and adds a small recovery bonus. The second upgrade is the hospital to medical center path, which adds a third coverage tier and a workforce attendance boost. The third upgrade is the medical center to district network path, which links multiple medical buildings into a single coordinated service area.
The right upgrade rhythm is to climb the upgrade path only when the current tier is fully utilized. Building a medical center before the surrounding clinics reach capacity wastes budget, and the medical center will run at the same efficiency as the clinic for the first 30 minutes of in-game time. Wait for the demand panel to turn yellow on hospital capacity, then upgrade, and the cost is justified.
A Practical Parks Guide for LEGO Skylines
The LEGO Skylines parks guide below is split into three recipes: starter park, mid-game plaza, and late-game greenway. Use the recipe that matches your current population milestone, and upgrade only when the current recipe is fully consumed.
Starter Park Recipe (0 to 1,000 Citizens)
The starter park is a small green tile with one or two decorative elements. Place it inside the residential cluster, on a road that already has sidewalks, and the recreation radius will cover the surrounding 4 to 6 blocks. Cost is low, upkeep is low, and the visual impact is high because the green tile breaks up the brick monotony.
A common mistake is to place the starter park on the edge of the residential cluster, near a main road. That placement looks logical because parks usually sit on busy streets, but in the game it pushes the recreation radius away from the citizens who need it. Move the park one block inward and the radius centers on the residential cluster instead of the avenue.
Mid-Game Plaza Recipe (1,000 to 5,000 Citizens)
The mid-game plaza is a larger park with paths, a small decorative water feature, and two to three tree clusters. Place it at the intersection of two residential neighborhoods, where the recreation radius can serve both clusters at once. The plaza doubles as a scenery anchor for your LEGO Skylines recreation guide strategy, because it gives you a visual focal point that holds the layout together.
The plaza should sit on a road that is wide enough to handle plaza-side parking and pedestrian flow. Narrow roads will choke the pedestrian radius, and the recreation bonus will not reach the back blocks. Use a four-lane road for the main avenue that the plaza faces, and keep the side streets at two lanes for residential calm.
Late-Game Greenway Recipe (5,000+ Citizens)
The late-game greenway is a long park that links multiple districts through a continuous green corridor. It runs along a river, an avenue, or a topographic ridge, and its recreation radius stretches across the entire city in a ribbon. Citizens can walk from one district to another through the greenway without crossing a single industrial block, and that pedestrian continuity is a major public health multiplier.
The greenway is expensive in bricks, cheap in upkeep, and powerful in coverage. Place it after the rest of the service layout is stable, because the greenway depends on the surrounding hospitals and clinics being online. Build the greenway too early and you will have a beautiful empty corridor that does nothing for public health because the medical side is still missing.
| Park Recipe | Coverage Type | Best Placement | Visual Bonus |
|---|---|---|---|
| Starter Park | Tile-based, 4 to 6 blocks | Inside the residential cluster | Low |
| Mid-Game Plaza | Intersection-based, 2 neighborhoods | At a residential crossroads | Medium |
| Late-Game Greenway | Ribbon-based, multi-district | Along a river or avenue | High |
| Plaza Network | Linked plazas + greenway | District hub | Very high |
Designing a Cohesive Service Layout That Scales
A LEGO Skylines service layout is the sum of the hospital placements and the park placements, plus the road network that links them. Treat the layout as one system, not three, and your save file will scale through every population milestone without service crashes.
The Hospital and Park Overlap Zone
The overlap zone is where a hospital radius and a park radius cover the same block. That overlap is the public health multiplier, and it should exist on every residential block in your city. The way to build it is to drop a pin for every hospital, drop a pin for every park, and then check the map for blocks that fall inside both pin circles. Any block that falls outside both circles is a coverage gap, and any block that falls outside one circle is a single-service gap.
| Block Status | Public Health Result | Action |
|---|---|---|
| Inside both circles | Strong stability | None, keep monitoring |
| Inside hospital only | Health stable, mood low | Add a small park |
| Inside park only | Mood stable, health fragile | Add a clinic |
| Outside both circles | Coverage gap | Add both, link via road |
| Inside power/water gap | Service interrupted | Fix utility first, then service |
Scaling the Layout as the Population Grows
The layout has three scale phases. In the first phase (0 to 1,000 citizens), you build one hospital and one park inside the starter residential cluster. In the second phase (1,000 to 5,000 citizens), you add a mid-game plaza, a second hospital, and connect the two with a road. In the third phase (5,000+ citizens), you add the late-game greenway, a medical center, and a district network link.
The most common scaling mistake is to wait for the demand panel to turn red before upgrading. By the time the panel is red, the save file is already losing population and tax income, and the recovery is expensive. The right rhythm is to upgrade one population milestone before the red indicator, so the service arrives while demand is still green. Pair that rhythm with a city services overview to keep citizen needs mapped, and you will avoid most of the public health spirals that other saves run into.
Cross-District Service Links
Once the layout covers one district, the next step is to link multiple districts through a coordinated service network. The link is a road that runs through every district, with a hospital and a park placed at every district center along the road. That road is the service spine of the city, and it is the difference between a save file that scales and one that fragments at the seams.
A useful way to plan the spine is to imagine the road as a string of beads, where each bead is a district center. The hospital goes at the bead, the park goes next to the hospital, and the road connects to the next bead. The result is a continuous public health corridor that survives population growth, road reroutes, and the occasional district redesign.
Advanced Public Health Tactics for Late-Game Skylines
Once the basic layout is stable, you can layer advanced tactics on top. The advanced tactics focus on coverage efficiency, scenery synergy, and budget stability. None of them are required to win the public health game, but they make the late-game smoother.
Coverage Efficiency Tricks
Coverage efficiency is the ratio of serviced blocks to total blocks. The way to raise it is to upgrade one tier at a time, not skip tiers, and to place each new hospital or park inside a coverage gap rather than next to an existing service. If you place a new hospital next to an existing hospital, the overlap does not help, and the budget is wasted. Place the new hospital in the gap, and the coverage expands.
A second efficiency trick is to align hospital upgrades with population milestones rather than budget milestones. The temptation is to upgrade when you have spare budget, but the demand panel knows the actual citizen need, and it is a more reliable trigger. Watch the panel, not the wallet, and your upgrades will always land at the right moment.
Pair coverage efficiency with utilities awareness by reading up on utility mistakes so your hospital does not lose power in the middle of a sick day. A blacked-out hospital is a public health risk, and it is the kind of failure that a clean utility plan prevents.
Scenery Synergy Between Hospitals and Parks
The scenery synergy between a hospital and a park is real. A park placed next to a hospital makes the hospital feel less clinical, the park feels more purposeful, and the combined block becomes a recognizable visual anchor in the city. Players who lean into this synergy end up with layouts that look intentional, even when the underlying planning was rough.
The trick is to match the building style. A modern hospital pairs with a modern plaza. A classic hospital pairs with a classic garden. The mix-and-match approach creates visual noise, and visual noise hides service gaps. Match the style and the layout reads cleanly even from a distance.
A related tactic is to use the greenway as a scenery backbone that links hospitals, parks, and residential clusters through one continuous visual theme. The greenway becomes the spine of your city, and every district hangs off it. For more on how service coverage interacts with broader planning, the service priorities walkthrough covers the late-game balance between hospital reach and park reach in detail.
Budget Stability Through Right-Sized Services
Budget stability comes from matching service size to actual demand, not from spending the least. A clinic that covers 800 citizens costs less than a hospital that covers 3,000, and it is the right answer for a small neighborhood. A medical center that covers 8,000 costs more than a clinic, but it is the right answer for a dense district. Match the size to the need, and the budget stays stable because no service is overpaying for capacity it does not use.
A secondary budget tactic is to stagger upgrades. Do not upgrade every hospital on the same day, because the cumulative upkeep spike can drain the budget. Stagger upgrades across two or three in-game weeks, and the budget absorbs each upgrade as a normal expense rather than a crisis.
Frequently Asked Questions
What is the fastest way to improve LEGO Skylines public health in the first hour?
Drop one clinic inside the starter residential cluster and a small park one block away, both on roads with sidewalks. That combination covers the first 800 to 1,000 citizens, and the overlap zone gives the workforce a stable base while you expand to the next neighborhood.
How do I know when to upgrade from a clinic to a hospital?
Watch the citizen demand panel for the yellow hospital icon, which appears around 1,000 residents. Upgrade before it turns red, since post-red recovery costs roughly three times a pre-emptive upgrade and risks compounding healthcare shortages across adjacent zones. Pair the swap with a second park to lock in the public health compound bonus described in the Parks Guide.
Can parks and hospitals share a block?
Yes, and they should. Place the hospital on one plate, the park on the adjacent plate, and the recreation and medical radii will overlap. That overlap is the heart of any LEGO Skylines services explained strategy, because the combined coverage is what keeps the workforce healthy and the citizens happy at the same time.
Where do I place a greenway for maximum recreation reach?
Run it along a river, a main avenue, or a topographic ridge, because the long ribbon shape multiplies the recreation radius along its length. The greenway works best after the basic service layout is stable, so do not build it in the first hour. Treat it as a late-game scenery and recreation multiplier, not an early-game fix.
What is the biggest public health mistake new players make?
The biggest rookie error is dropping a hospital at the edge of a residential block instead of its geometric center, which can shrink medical coverage by roughly 20 to 30 percent. Relocate the hospital so its radius centers on the workforce, and pair it with parks placed before citizen demand turns red.