
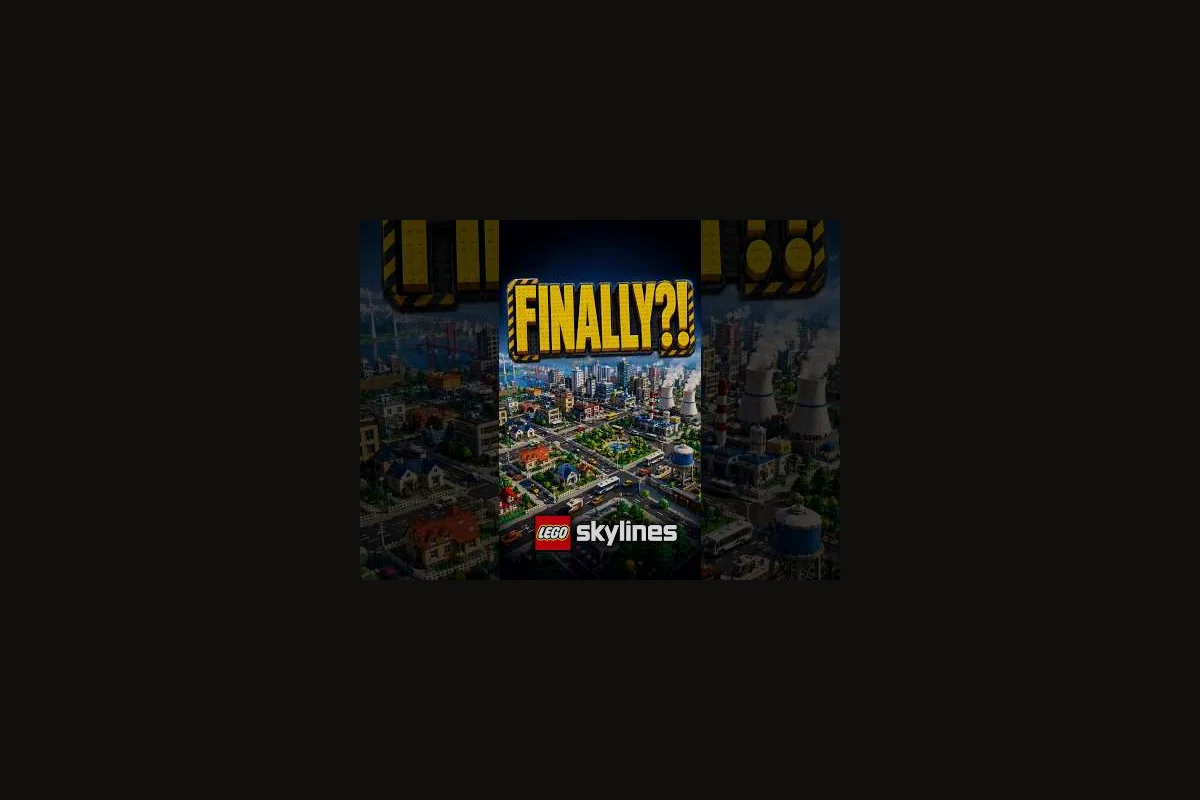
Great city decoration in LEGO Skylines isn't about piling on the prettiest props — it's about reading your streets like a comic-book panel and placing each LEGO brick with intent. The game ships with a large catalog of buildings and decorations built specifically for creative expression, so the goal of this LEGO Skylines city decoration guide is to give you a repeatable visual-planning method that turns empty grid blocks into a district that looks designed rather than dumped.
Decoration sits alongside electricity, food, water, housing, jobs, healthcare, parks, shops, waste collection, and sewage as a core creative pillar, which is why your early build order should reserve space for ornament instead of treating it as a late-game luxury. Players who front-load visual planning tend to keep editing their city instead of restarting, because the foundations of color, scale, and rhythm are already in place. Below you'll find a full LEGO Skylines design guide workflow: how to read a site, how to layer decoration, how to handle streets, parks, and landmarks, and how to keep your LEGO Skylines buildings cohesive as the city grows.
Reading the Map Before You Place a Single Brick
Visual planning starts the moment you load a new map, and the players who build the most striking cities share one habit: they sketch the empty map before placing anything functional. Treat the terrain like a blank LEGO baseplate, identify natural focal points (harbors, hills, river bends, cliff edges), and decide which areas will hold residential blocks, commercial streets, civic cores, and parks. This pre-decoration phase is what separates intentional LEGO Skylines build ideas from the "I just kept clicking" syndrome that forces most cities into a restart by hour ten.
Map Zones and Their Decoration Mood
Each district zone pulls a different palette and prop family—residential leans on earth-tone bricks and small foliage pieces, commercial mixes bright signage tiles with awnings, and industrial favors gray baseplates with smokestack elements—so naming your zones upfront keeps decoration choices coherent before you place a single 1×1 plate. Use the table below as a starting mood board for your first district, and resist the urge to mix prop families across zone boundaries until you've validated a visual rhythm within each one.
| Zone Type | Color Mood | Signature Decorations | Build Pacing |
|---|---|---|---|
| Residential | Warm pastels, beige, soft green | Garden fences, trees, planters, porches | Slow, even, symmetric |
| Commercial | Bright primary colors | Awnings, signage, benches, streetlamps | Dense, varied, rhythmic |
| Civic / Landmark | Cool blues, white, gold | Fountains, plazas, flags, hero statues | Sparse, large, centered |
| Industrial | Gray, black, hazard yellow | Cones, pipes, smokestacks, crates | Clustered, gridded, heavy |
| Park / Nature | Forest green, sky blue | Paths, ponds, picnic tables, gazebos | Curved, organic, breathing |
Once these moods are locked in, the LEGO Skylines visual planning task becomes a matter of matching decoration to zone — and that single match-up prevents 80% of the "my city looks like a yard sale" complaints that show up in community threads.
The 30-Second Sightline Test
Before you commit to a layout, pan the camera along the main avenues and ask three questions: Does each building type anchor a believable street-level transition between low-density storefronts and mid-rise residential blocks? Do landmark placements such as the Town Hall or Ferris Wheel remain readable from every adjacent district, or do trees and modular roofs occlude their silhouettes? And does the sightline pull a player's eye toward a designated focal point like a cathedral spire or elevated monorail terminus, reinforcing the city decoration strategy's intentional focal hierarchy before any road is laid?
-
Does the eye have a clear focal point at the end of each street?
-
Are tall objects distributed so no two towers block the same view?
-
Do the colors repeat across districts, or is each block an isolated island?
If a street ends in a blank wall, you need a landmark, a tall building, or a hero decoration. If two towers crowd the same sightline, raise one, lower the other, or relocate a non-essential prop. This 30-second test is a LEGO Skylines building strategy that costs nothing and prevents hours of cosmetic rework later, and it pairs naturally with the broader placement logic covered in our LEGO Skylines building guide.
Layering Decorations Like a Set Designer
The biggest visual jump in LEGO Skylines comes when you stop placing one prop at a time and start stacking decoration in layers. Think of every block as a sandwich: ground (paths, lawns, plazas), middle (benches, lamps, planters, fences), and top (banners, signs, tree canopies, roof ornaments). When all three layers are active, the block reads as a designed scene rather than a functional tile with a tree dropped on it.
Ground-to-Rooftop Decoration Layering
| Layer | Purpose | Common Props | Spacing Rule |
|---|---|---|---|
| Ground | Define movement and edges | Tiles, paths, curbs, grass borders | Continuous along streets |
| Middle | Add human scale and rhythm | Benches, lamps, mailboxes, planters | Every 4–6 LEGO studs |
| Top | Add color and vertical interest | Banners, signs, tree tops, flags | Every 8–10 studs, alternating |
Stacking all three layers is the cheapest way to elevate a flat residential block into a believable LEGO neighborhood, and it is a core LEGO Skylines design guide principle that scales from starter hamlets to late-game metropolises. By combining a Ploppable Asphalt base (roughly 8 props per cell), a mid-tier commercial or industrial band for roofline variety, and a signature landmark topper such as a Cliffside Manor or procedural skyscraper, you triple the visual density of a single 4×4 residential tile for under §8,000 in-game. This three-tier layering also makes district-level visual planning far easier, because the landmark crown gives each neighborhood a recognizable silhouette when viewed from the highway interchange, and the commercial band hides the boring residential roofline from pedestrian-level eyes.
The Odd-Number Cluster Rule
A common rookie mistake is filling every gap. The rule of three says any decorative cluster should be built from an odd number of props (three, five, or seven) so the eye has a clear grouping instead of a uniform line. A street corner with three trees of varying heights, three benches facing a fountain, or three flags of different sizes feels composed; the same corner with four identical trees feels mechanical. The official LEGO Skylines page on Paradox Interactive emphasizes customization as a headline feature, which lines up with this odd-number clustering approach because it gives players room to experiment with asymmetry without breaking the visual grammar of the city.
Streets, Plazas, and the Connective Decoration
Streets and plazas are the connective tissue of any LEGO Skylines city, and they're where most decoration budgets quietly go to waste. Players tend to either ignore streets entirely (leaving them as bare gray strips) or over-decorate them with random props until the avenue looks like a flea market. The fix is to give every street a job: transit, ceremonial, market, or leisure — then decorate to that job.
Street Type Decor Cheat Sheet
| Street Type | Width | Decoration Priority | Avoid |
|---|---|---|---|
| Transit Avenue | 4 lanes | Lamps every 6 studs, lane markings, bus stops | Benches, planters in the median |
| Commercial Strip | 2 lanes | Awnings, signage, planters, outdoor seating | Large monuments, fences |
| Ceremonial Boulevard | 6 lanes | Flags, fountains, hero statues, trees in pairs | Cluttered signage, vending props |
| Leisure Promenade | 2 lanes, pedestrian | Benches, ponds, gazebos, string lights | Vehicle props, large signs |
A ceremonial boulevard ending in a civic plaza is one of the strongest LEGO Skylines build ideas for a first capital, because the visual hierarchy (tall civic buildings, open plaza, decorative monuments) reads instantly even to a player who has never seen your city before. The LEGO Skylines Steam store page explicitly lists decoration alongside parks, shops, and the broader management suite, so the game is designed to reward exactly this kind of ceremonial street layout.
Roundabouts and Focal Points
Roundabouts are a built-in focal-point tool, and most players under-use them. Drop a fountain, a hero statue, or a cluster of three trees in the center, then ring the perimeter with four matching lamps and you've turned a transit circle into a landmark. The same trick works at T-junctions and Y-junctions: one signature decoration at the meeting point tells drivers and pedestrians "this is a place" instead of "this is a crossing."
District Theming and Cohesion
Once individual streets look good, the next visual-planning challenge is making the whole district feel like one LEGO set instead of three sets glued together. Cohesion comes from repeating two or three signature elements across every block in the district: a shared roof color, a recurring prop family, or a consistent palette. Without that repetition, even well-decorated blocks feel disconnected.
Signature Element Checklist
| Element | Pick Early | Apply Across | Why It Works |
|---|---|---|---|
| Roof Color | First 5 buildings | All residential blocks | Unifies the skyline |
| Tree Species | First park | All green spaces | Locks the natural palette |
| Lamp Style | First commercial street | All avenues | Repeating vertical rhythm |
| Fence Type | First residential block | All low-density edges | Ties boundaries together |
| Accent Color | District name (e.g. "Blue Harbor") | Banners, awnings, signage | One color ties everything visually |
This signature-element approach is the backbone of any serious LEGO Skylines building strategy for late-game cities, because it scales — once you've chosen a roof color and a tree species, you can keep adding blocks for hours and the district will still feel designed. Players who skip this step usually end up restarting around the 8-hour mark when the city stops feeling coherent, a pattern that shows up often in community reports on city-building pacing.
Mixing Kits Without Losing Cohesion
LEGO Skylines offers a huge variety of building kits, and the temptation is to use every one in the same district. Resist it. A good rule is two kit families per district, with a third reserved for landmarks and civic cores. Mixing more than three families in one zone dilutes the signature elements and produces the "department store" look that beginners often mistake for variety. If you want a new kit family, build a new district around it instead of forcing it into an existing one. For more inspiration on mixing styles, the LEGO city ideas collection is a solid cross-reference for theme palettes that already feel cohesive.
Landmarks, Skyline, and the Hero Piece
Every great LEGO city has a hero piece — one structure or decoration that anchors the skyline and gives the camera something to lock onto. In LEGO Skylines, that hero can be a tall civic tower, a giant LEGO sculpture, a stadium, a Ferris wheel, or a custom monument. The job of the hero is not to be the biggest prop on the map, but to be the most legible from a distance, which is why silhouette matters more than size.
Hero Piece Selection Matrix
| Hero Type | Best District | Silhouette Strength | Build Cost | Visual Payoff |
|---|---|---|---|---|
| Tall Civic Tower | Capital core | Very high | High | High |
| Ferris Wheel | Waterfront / park | High | Medium | High |
| Stadium | Sports district | High | High | Medium |
| Giant Sculpture | Plaza / roundabout | Medium | Medium | High |
| Suspension Bridge | River crossing | Very high | High | High |
| Lighthouse | Coastline | High | Low | High |
Placing a hero piece early — even before the surrounding buildings are finished — gives every later decision a direction. Players building around a planned Ferris wheel will naturally curve their waterfront streets toward it, and players building around a planned tower will organize avenues as spokes. This is LEGO Skylines visual planning in its purest form: a single anchor that organizes an entire district.
Negative Space Around Landmarks
Hero pieces need breathing room. A common mistake is packing decorations right up to the base of a landmark, which flattens its silhouette and turns it into background noise. Leave at least one empty block of plaza or grass on every side of a hero piece, and let the surrounding streets act as a frame instead of a fence. Negative space is the cheapest decoration in the game and the most underused, and once you start reserving it around landmarks your skyline will read as "designed" rather than "filled."
Pro-Level Visual Planning Workflow
Pulling the above principles into a repeatable workflow is what separates one-off pretty screenshots from cities that look good from every angle for dozens of hours. The workflow below condenses the entire LEGO Skylines city decoration guide into four phases that you can apply to any new map, any new district, or any rebuild.
Phase-by-Phase Workflow
| Phase | Goal | Tools / Actions | Time Box |
|---|---|---|---|
| 1. Site Read | Identify focal points and zones | Pan camera, sketch zones, name districts | 10 minutes |
| 2. Anchor Build | Place one hero piece per district | Build civic core, landmark, or hero | 20 minutes |
| 3. Layer Stack | Add ground, middle, top layers | Paths → benches/lamps → signs/banners | 30 minutes |
| 4. Cohesion Pass | Apply signature elements across blocks | Repeat roof color, lamp style, accent color | 20 minutes |
Run this loop on every new district, and the city will keep its visual quality as it grows. The same loop also helps when you're rebuilding a tired district: instead of tearing it down, run phases 2–4 on the existing bones and the result often exceeds a from-scratch rebuild. If you're still laying out your first avenues and service routes, the LEGO Skylines build order guide covers the foundational placement that decoration should sit on top of.
When to Stop Decorating
There's a real failure mode in cozy city-builders where players decorate forever and never expand the city. A simple rule: when a block looks good from three camera angles (street level, mid-zoom, top-down), move to the next block. Returning to "polish" already-finished blocks is the decoration equivalent of perfectionism creep, and it eats the hours you'd otherwise spend unlocking new districts. If a block looks slightly off, the signature-element pass in phase 4 will almost always fix it without rebuilding the block from scratch.
Practical Decoration Recipes You Can Reuse
Recipes are pre-tested decoration combos that you can drop into any district as a starting point. They're useful when you're stuck on a specific block type, and they're also a great way to build a personal style library over time. The five recipes below cover the most common block types in LEGO Skylines and have all been reported by players as reliable starting points.
Block-Level Decoration Recipes
| Block Type | Recipe Name | Props (in order) | Result |
|---|---|---|---|
| Residential corner | "Cozy Porch" | Path tile, low fence, two planters, lamp, small tree | Warm, lived-in feel |
| Commercial storefront | "Open Awning" | Wide path, double bench, two planters, sign, awning tile | Inviting retail |
| Civic plaza | "Hero Square" | Open tiles, fountain center, four lamps, eight planters, flagpoles | Formal, camera-ready |
| Park edge | "Picnic Bend" | Curved path, three trees, two picnic tables, gazebo, string lights | Relaxed, organic |
| Industrial yard | "Service Yard" | Concrete tile, pipe stack, hazard cones, crate cluster, single lamp | Functional, heavy |
Once you have ten or fifteen of these recipes, decoration becomes a vocabulary problem instead of a design problem — you stop asking "what do I put here?" and start asking "which recipe fits?" That shift is the single biggest LEGO Skylines design guide upgrade you can make, and it's what lets late-game cities feel effortless instead of exhausting. For more granular per-zone tips, the decoration tips page extends this recipe-based thinking into park, shop, and home interiors.
Frequently Asked Questions
What is the best way to start a LEGO Skylines city decoration guide workflow on a new map?
Begin with a 10-minute site read to pan the map, mark natural focal points, and name each district before placing functional buildings. Lock in two or three signature elements per district — a roof color, a tree species, a lamp style — before the anchor build. Steam's customization focus rewards this pre-planning over improvisation.
How many decorations should a small residential block use in LEGO Skylines?
Aim for 8 to 12 props distributed across ground, middle, and top layers. Fewer than 8 leaves residential blocks visually empty, while more than 15 crowds LEGO minifigures and reduces readability from mid-zoom camera angles during your city planning pass.
Do landmarks in LEGO Skylines affect city performance or services?
No. Landmarks and hero pieces in LEGO Skylines are purely decorative props from the customization catalogue and never feed the electricity, water, healthcare, or jobs networks. Treat them as silhouette anchors inside civic cores, waterfronts, or roundabouts, leaving one empty plaza block on every side so their shape reads clearly.
Can I change the decoration style of an existing district without rebuilding it?
Run a cohesion pass instead of demolishing the district. Swap lamps, fences, and accent pieces to a new signature set, and the existing building placement reads as a fresh theme. The District Theming and Cohesion section covers this swap workflow, and the streets and plazas layer stays intact.
How do I keep my LEGO Skylines buildings visually cohesive as the city expands?
Pick two kit families and one accent color per district, then repeat that exact palette as you expand. Cap any single zone at three families, and reserve your loudest props—like the Ice Tower landmark—for hero pieces, not residential blocks, so the skyline stays readable.